In this post we’re going to explore my installation of the Nest Thermostat in a residential (house) application.
The Nest Thermostat is a great little product to add to your smart-house lineup if you’re just getting started, or even if you’ve already got several devices like the Phillips Hue, Amazon Echo, or other smart devices.
As far as the whole Nest vs Ecobee comparison, we’ll see how that goes. I’ll be installing more of these systems at my offices and data center out in South Dakota (to start) and will try and post a write-up of that project as well.
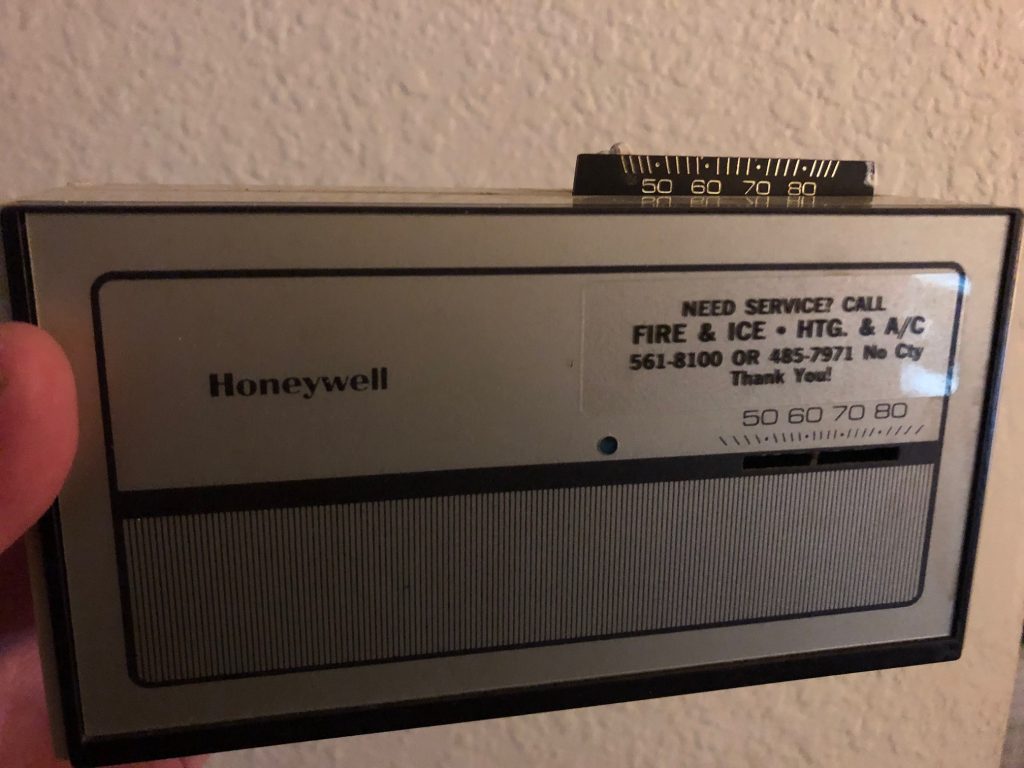
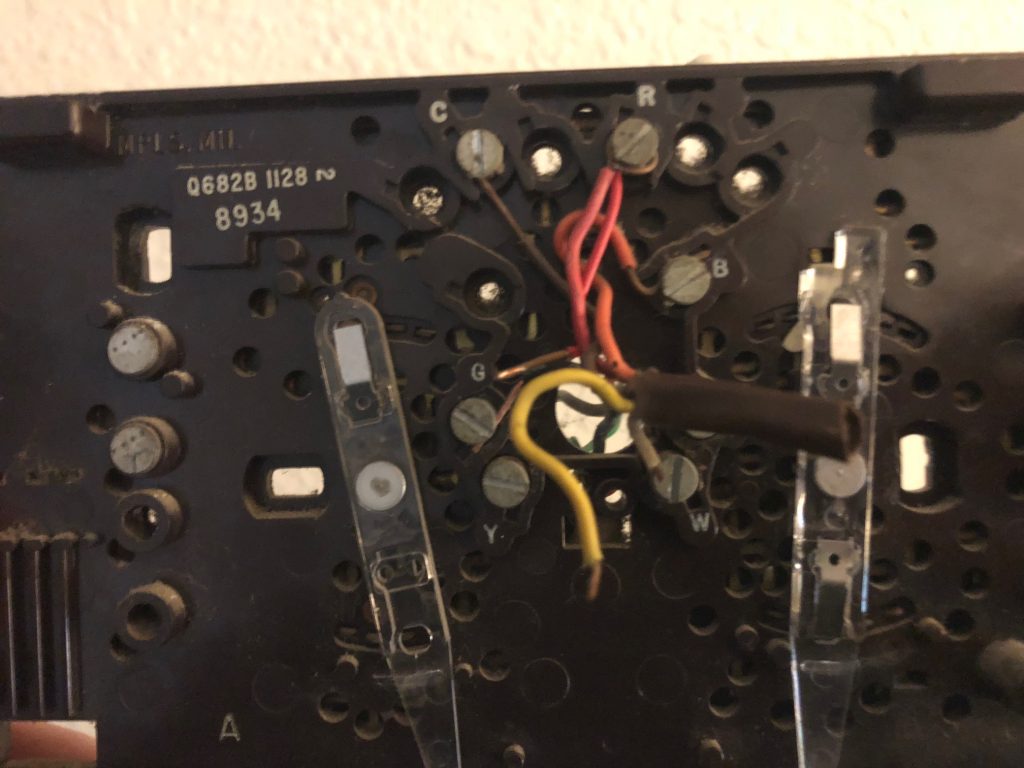
This HVAC system was installed way back in the groovy 1970’s, so I figured we might encounter some uncommon wiring or antiquated something-or-another.
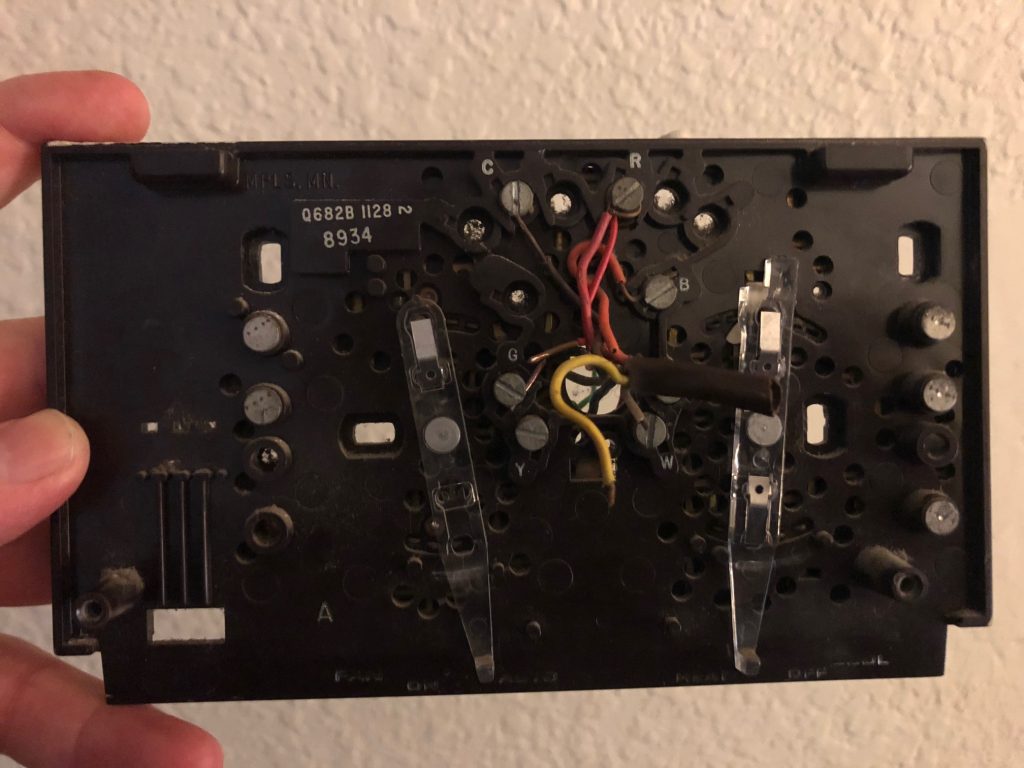
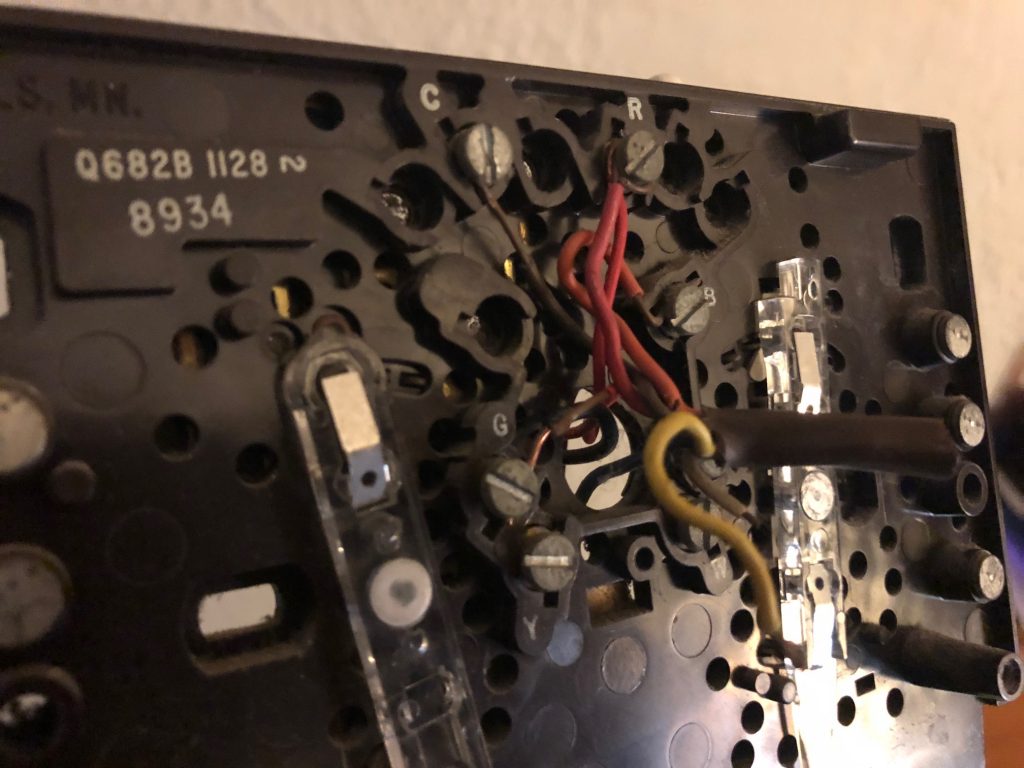
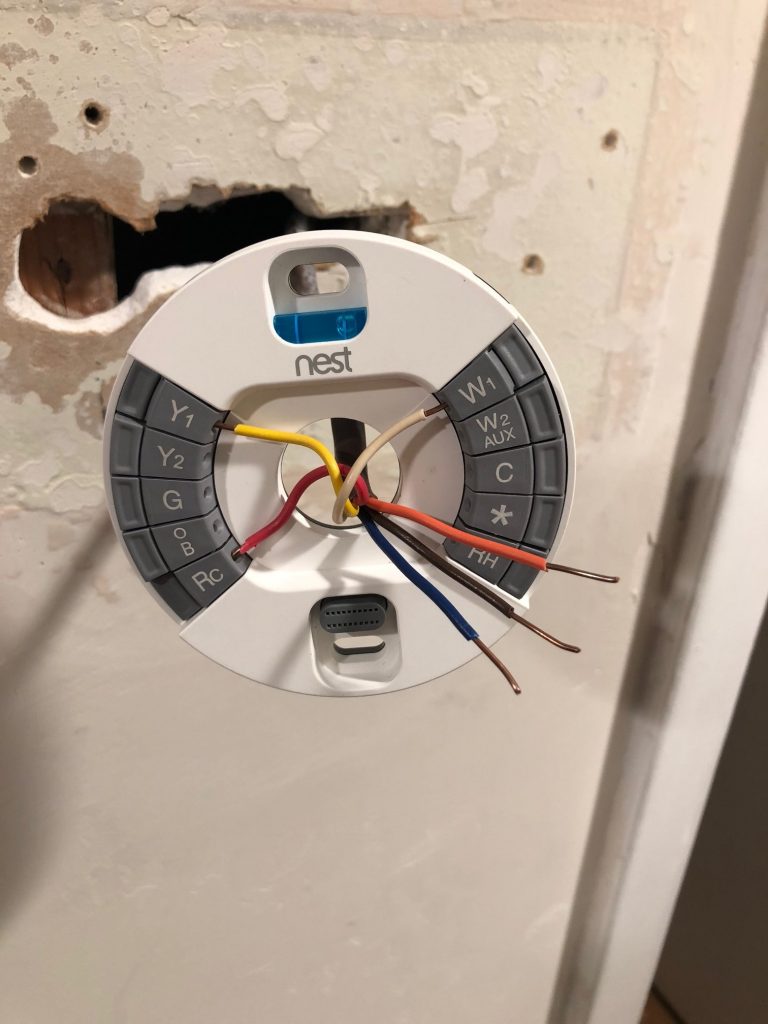
Didn’t take long to prove that guess right…. check out the pictures below of the original base-plate and take notice of the wire mappings (and colors), and extra wire and resistor in the back (that was behind the plate and tucked in the wall).
The only hitch in the install was that after hooking everything up the first time, the heat pump solenoid/valve wasn’t switching, and the system was blowing hot air for both heating and cooling modes.
This heat pump switching issue was caused by the older style O/B wire setup. To fix it I simply had to toggle the setting for the Nest heat pump O/B wire orientation settings and set it to the less-common “B” setting. After that, all was well in the world (of A/C, at least).
There were also a few weird jumper wires on the old panel setup (which you can see jumping the Y and W terminals on the old panel), but it was sorted out pretty easily working through some AC wiring diagrams and going through the Nest settings.
So onto the eye-candy!
To start, this is the unit we were replacing….
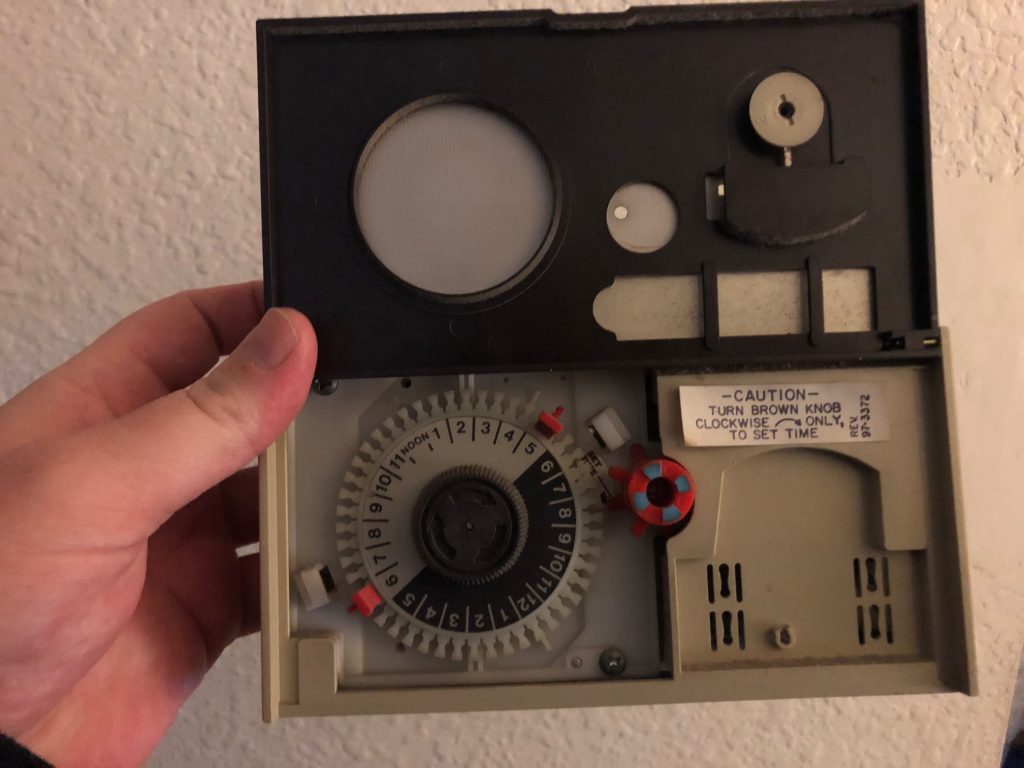
The inside of the flip-cover of the old thermostat…..
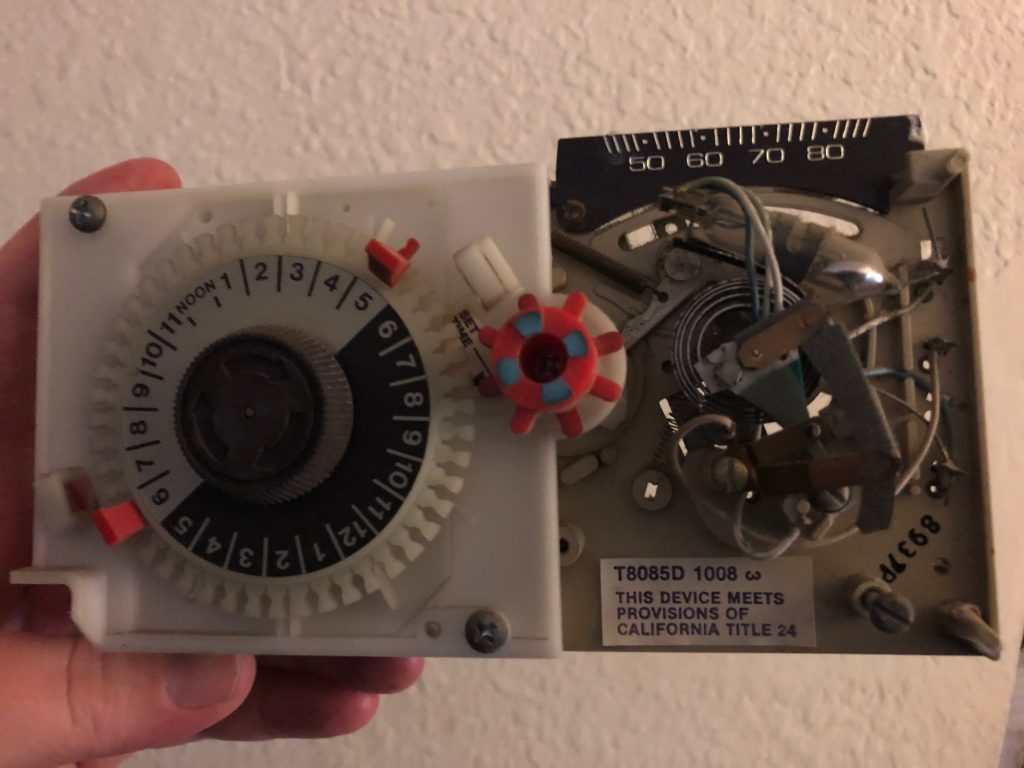
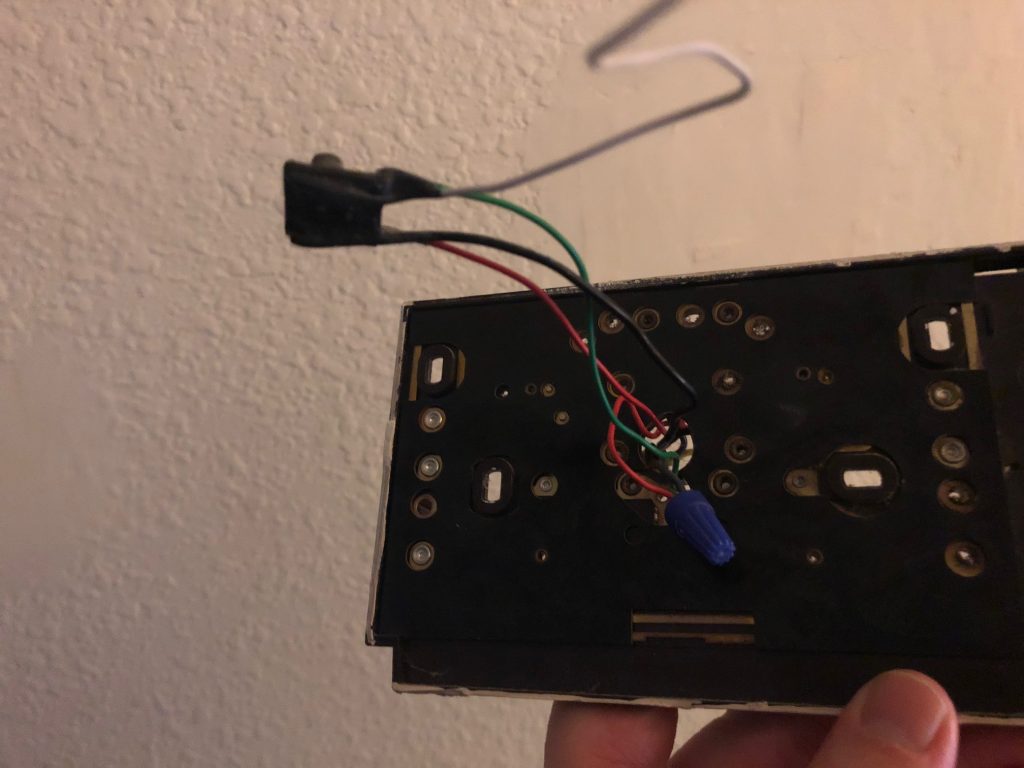
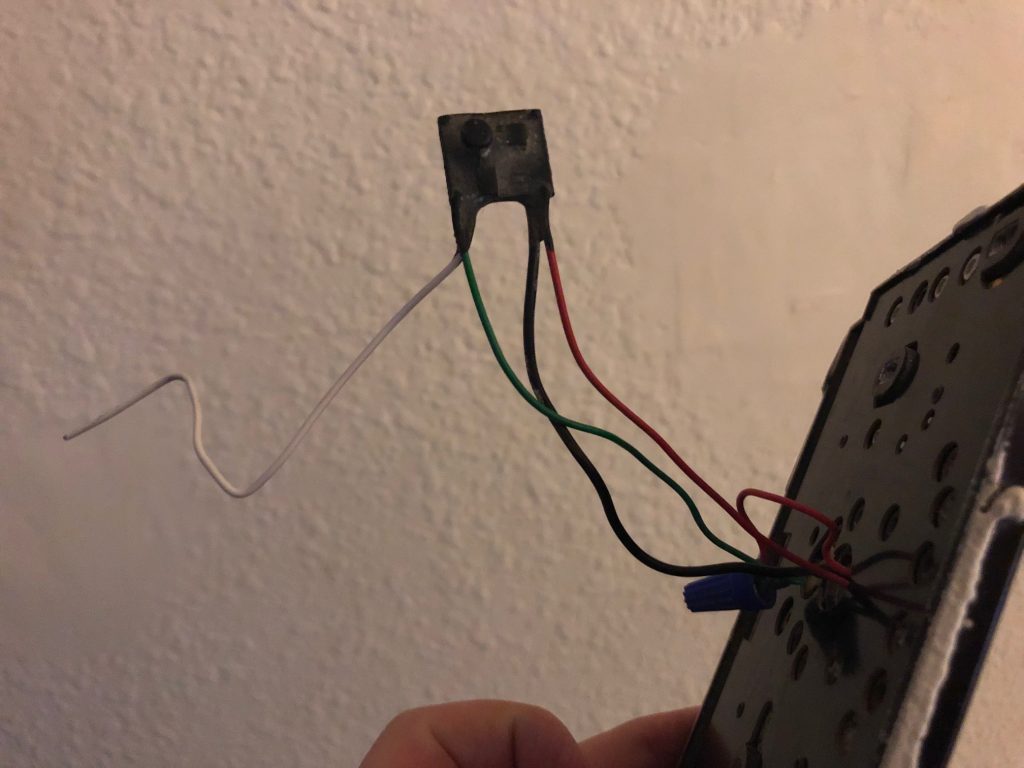
The guts of the old unit (so we can reference the old wiring, and map it properly to the new Nest base)……
The old base plate and wire mappings…
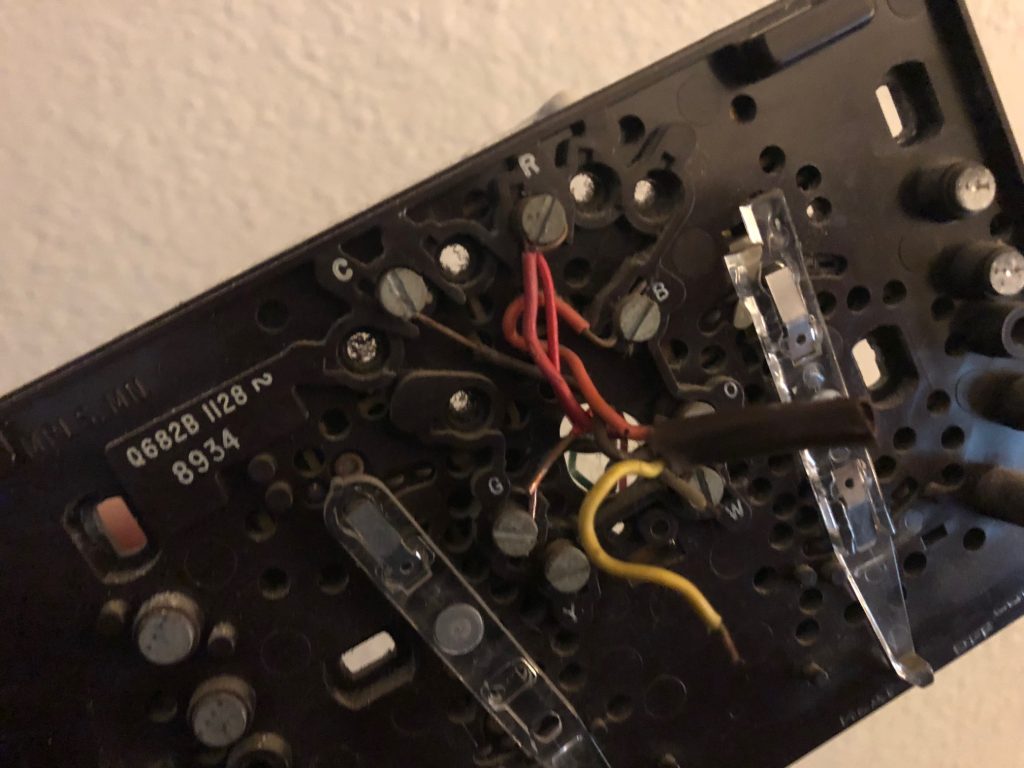
The jumper wire with resistor
The wall after removing the old unit, some light prep-sanding, and ready for further sanding and drywall/mud prep….
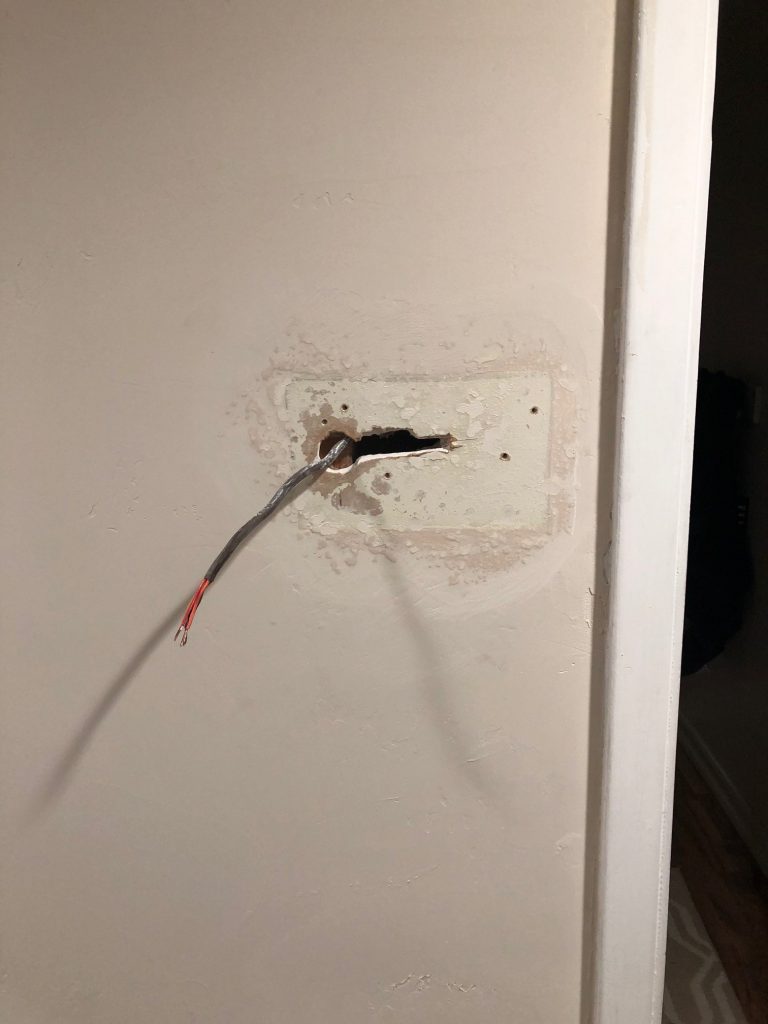
After some further sanding….

Here’s the Nest baseplate situated and ready for test-fitment
The wall after the mud is dry and after some sanding…..
Here’s the Nest Thermostat clipped onto the base for testing…. (and dangling from the wall)
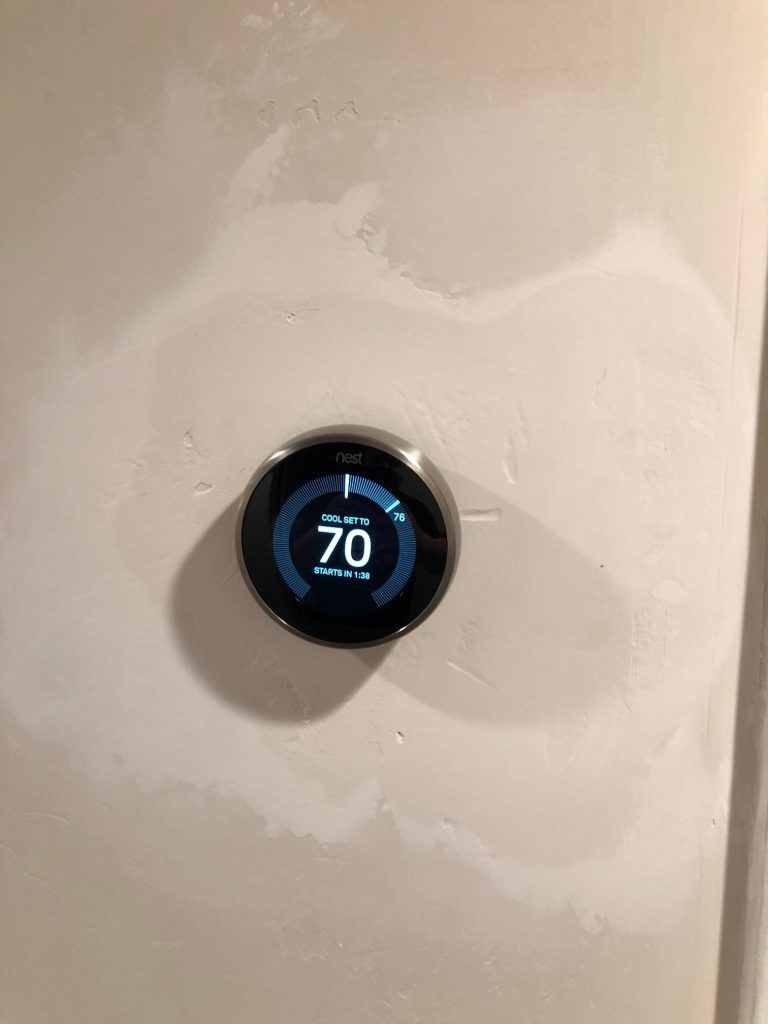
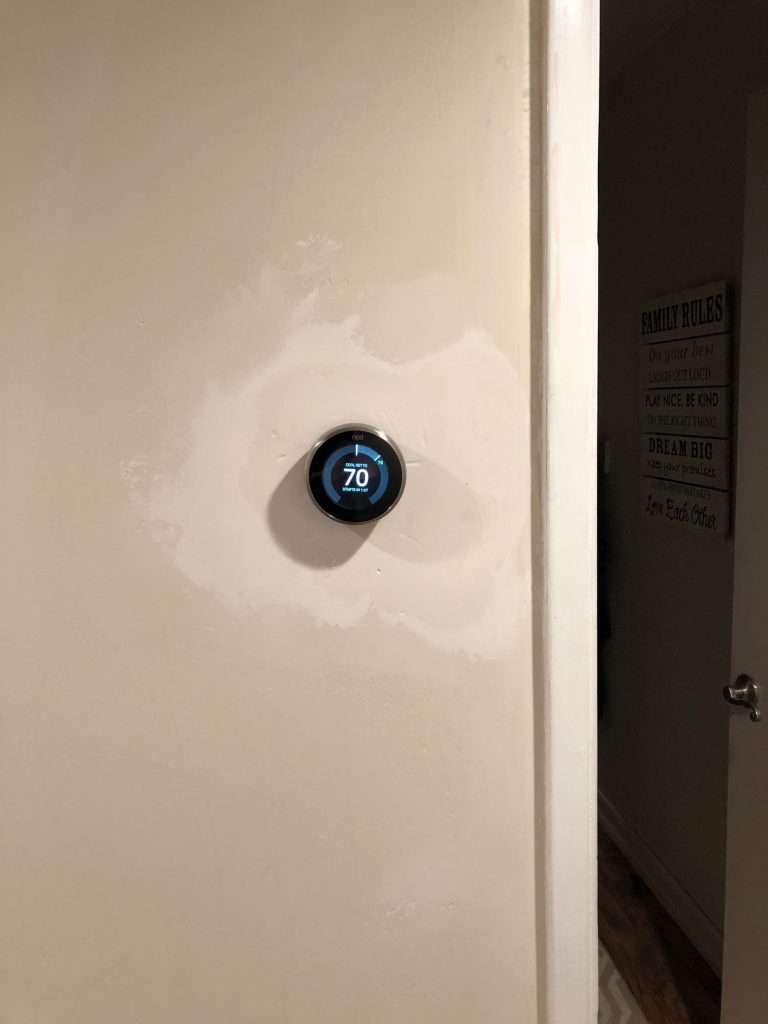
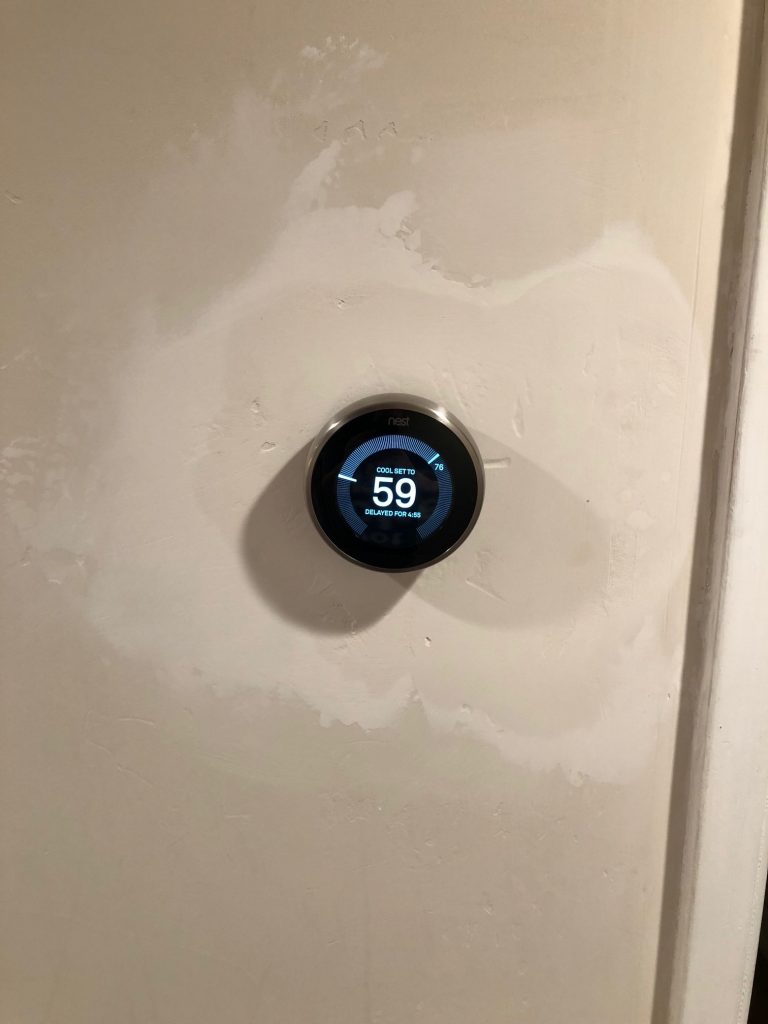
The finished result
Ta da! The final product…..